
Marvel Zombies Display Crate and Storage Box Assembly
Required tools:
Glue (Wood glue is best, but just about any adhesive will work)
Masking Tape (You can of course use clamps for clamping pieces together, but it is overkill)
Don’t Forget: Dry fit all pieces first!
Note: You will note the photos below are for our X-Men Marvel United box, except for very minor differences that will not change the procedure, the assembly and layout are nearly the same, with the exception of the number of shelves.
Also Note: Many pieces will by symmetrical in such a way that they will fit in multiple positions. When given the option we suggest orienting them so that any laser burn marks are on the inside, so that a cleaner exterior is maintained.
Main Body

Identify pieces
Identify the back, two sides, top, and three shelf bottom pieces. Note that on of the bottoms does not have a notch cut out and should be used for the bottom most piece.

Apply glue to tabs
Make sure that you are working on the interior side of the pieces.

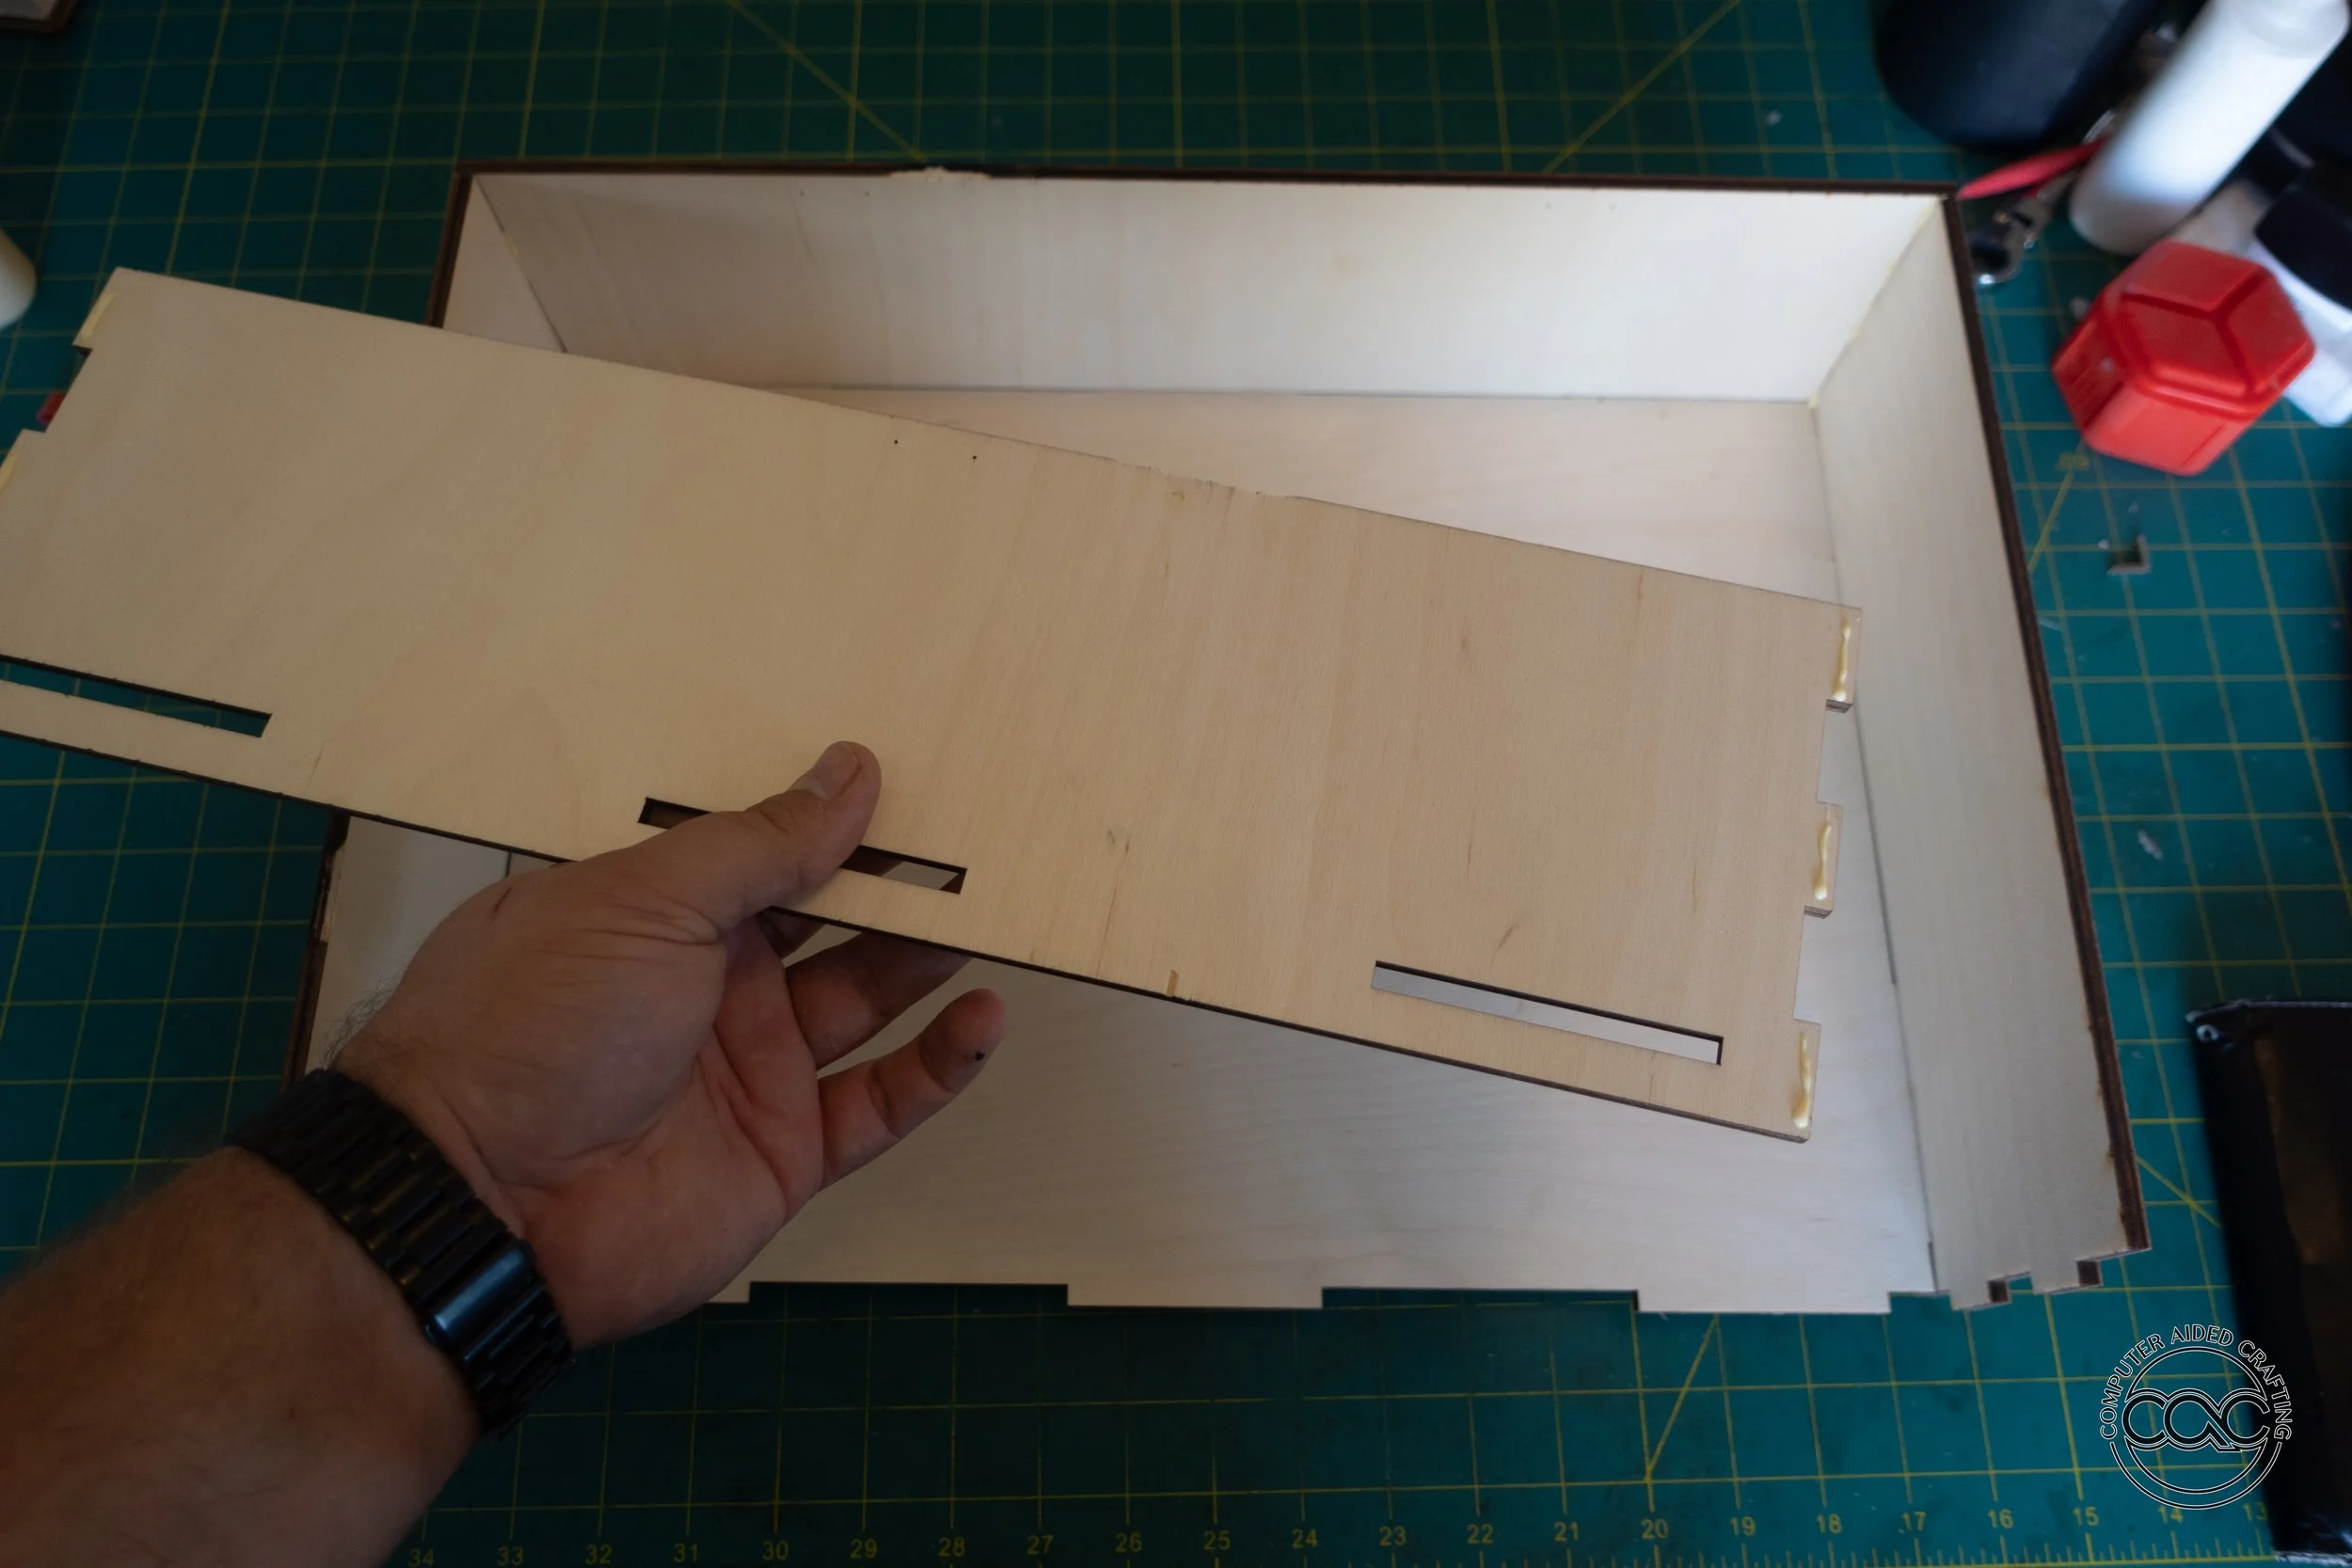
Slot in shelves
Glue is not required for these pieces, but can be added if you prefer.

Fold pieces in
Lift in one side, then the top, then the other side.
Some care is required to fit all the shelf bottoms into their slots

Hold together firmly with tape
Make sure to hold pieces together firmly when taping.
Do not allow any gaps
Put aside to dry
Doors

Layout door pieces
Take special care to identify where the holes for the latch is.

You will need to make sure that the sides with the hinge holes are furthest away from the latch holes.
Also make note that the slots for shelves line up

Apply glue to tabs
Make sure that you are working on the interior side of the pieces.

Just as you did with the main body, slot in shelf bottoms, and bring the sides and top in.
Tape together firmly, set aside and repeat with other door.
Hardware
After the glue has had sufficient time to dry, the tape may be removed, and hardware added.

Two hinges on each side…

And the latch on front.
This box is now complete.
Game Component box
Many of the concepts used before will be repeated in this simpler box.
Main Box

Apply glue on the tabs of the back and sides.
Slot in the bottom
Bring the sides in
Appy glue to the tabs of the front

Place the front and secure everything with tape to dry.
Top

Double check orientation
Make sure the the piece with hinge holes is in the back, and latch is in the front

Apply glue to all tabs

Bring pieces in and secure with tape
Hardware
After the glue has had sufficient time to dry, the tape may be removed, and hardware added.

Two hinges in the back

Latch on the front
You are now complete